Installation photos of Pro Cyc free-standing green screen modules.
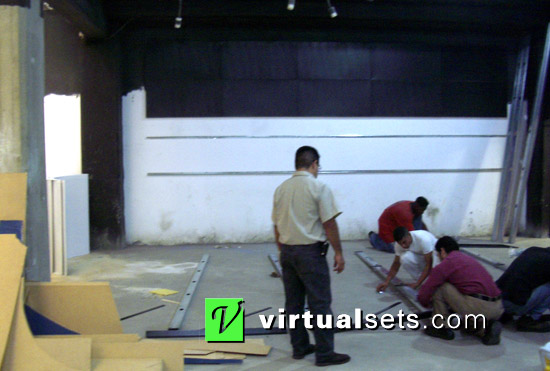 |
Pro Cyc Free-Standing Installation - Just getting started with the metal studs.
This cyclorama will be 24' x 20' x 12' high.
Diagram of custom Pro Cyc green screen. Revit Family available.
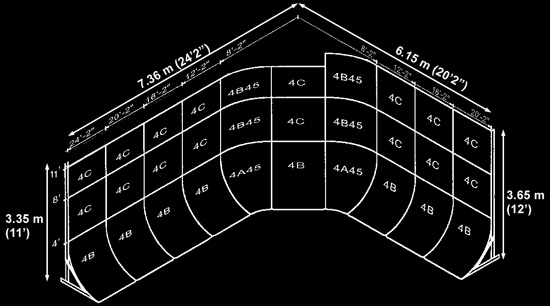 |
Pro Cyc Free-Standing Installation - Overall Diagram.
Diagram of green screen vertical frame.
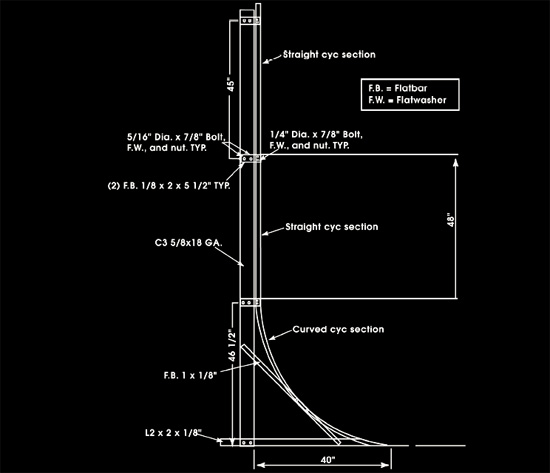 |
Pro Cyc Free-Standing Installation - Detail Diagram.
Installation of green screen - first row of Pro Cyc modules.
 |
Pro Cyc Free-Standing Installation - All metal studs and
the first row of cyclorama modules have been installed.
Installation photos of Pro Cyc green screen.
 |
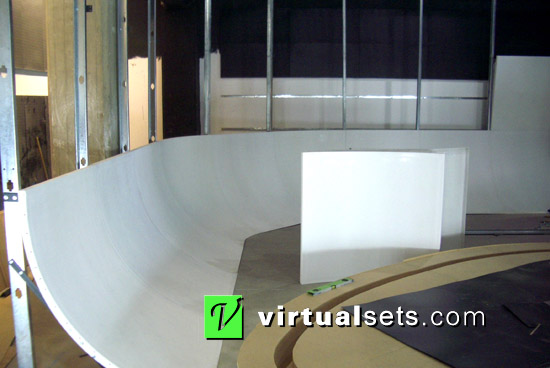
Pro Cyc Free-Standing Installation - Starting the final row
of flat and curved cyclorama modules have been installed.
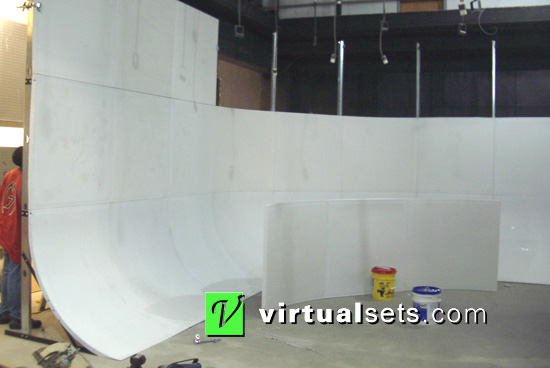
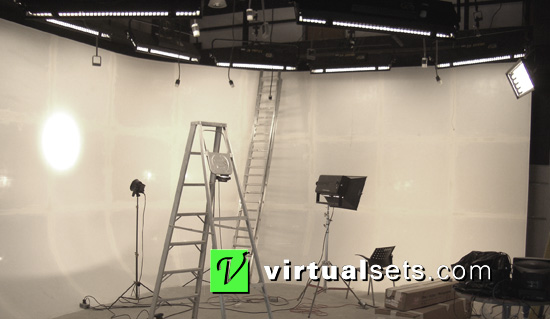
Photos of completed Pro Cyc green screen module installation.
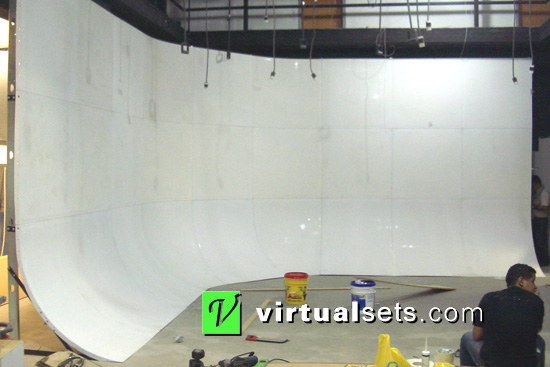 |
Pro Cyc Free-Standing Installation - All cyclorama modules have been installed.
Side view of free-standing Pro Cyc green screen.
 |
Pro Cyc Free-Standing Installation -
Showing the supports on the back and side of the cyclorama.
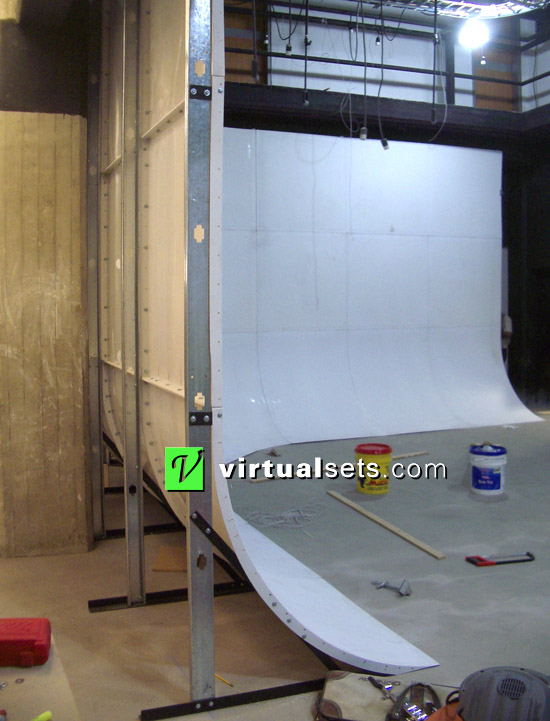
Rear view of free-standing Pro Cyc green screen.
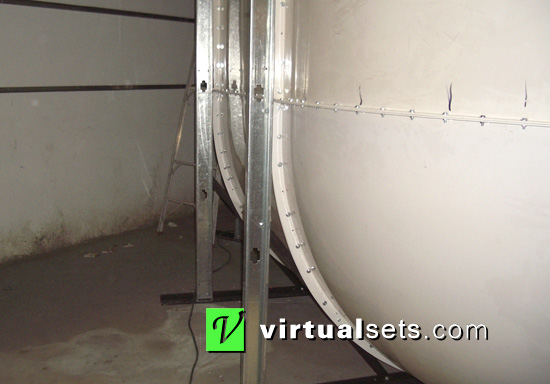 |
Pro Cyc Free-Standing Installation -
This photo shows the back of the corner of the cyclorama.
Beginning the mud and tape process to cover the Pro Cyc module seams.
 |
Pro Cyc Free-Standing Installation -
Cleaning the cyclorama before taping and mudding the joints.
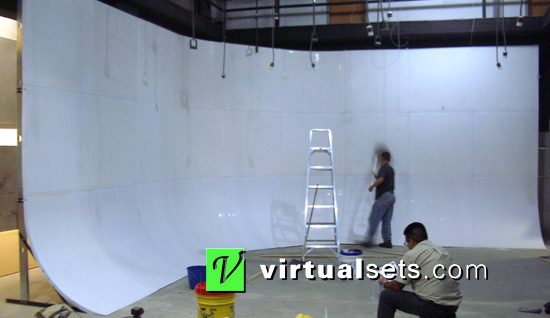
Photo after mudding and taping the Pro Cyc module seams.
 |
Pro Cyc Free-Standing Installation - Photo after taping and mudding the joints.
Connecting the bottom edges of the curved modules to the floor.
 |
Pro Cyc Free-Standing Installation - The bottom edges have been
fastened to the concrete floor, then mudded and sanded to create
a perfect transition from the curve to the floor. Photo after the
first coat of high-quality stain-blocking primer.
Beginning installation of the Pro Matte flooring.
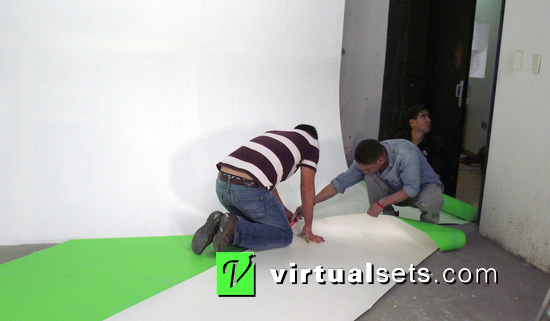 |
Pro Cyc Pro Matte Flooring Installation -
Rolling out and trimming the removable flooring to fit.
Current Pro Matte flooring is available in nearly double the width.
Contact us for more information!
All content ©2007-2016 Pro Cyc, Inc. and Virtualsets.com, Inc. All rights
reserved.
|